Free Shipping Worldwide
Safe and secure delivery.
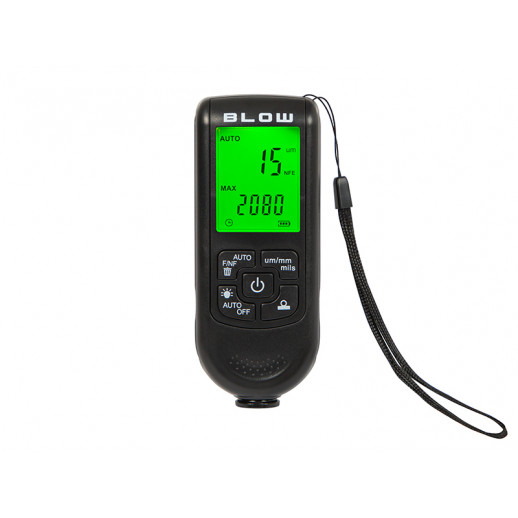
Paint Thickness Gauge Blow
- Brand: Blow
- Product Code: 50-462
- Reward Points: 2
- Availability: 2
37.67€
Ex Tax: 30.88€
Price in reward points: 618
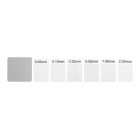
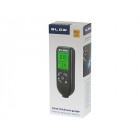
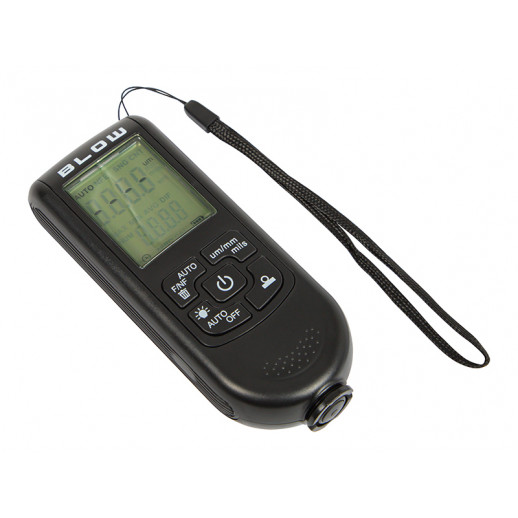
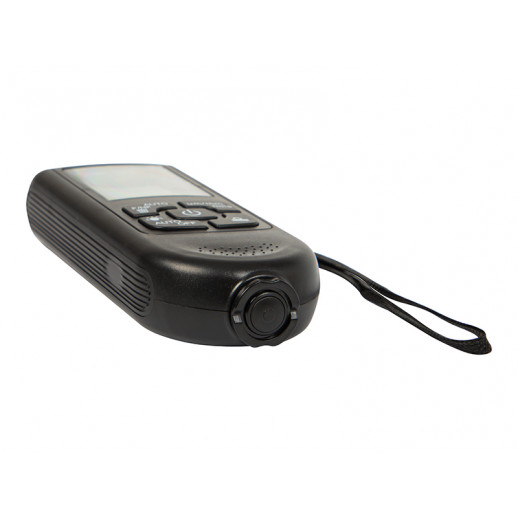
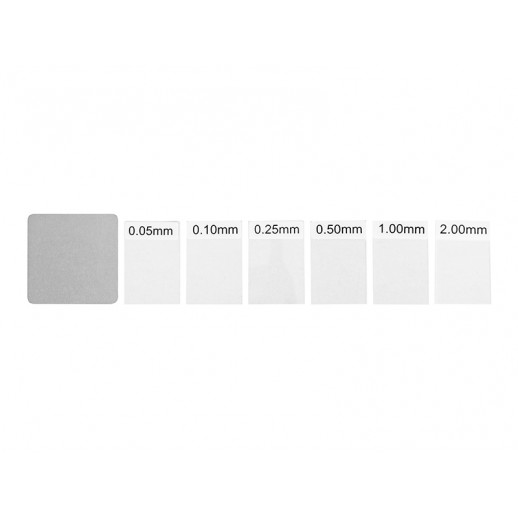
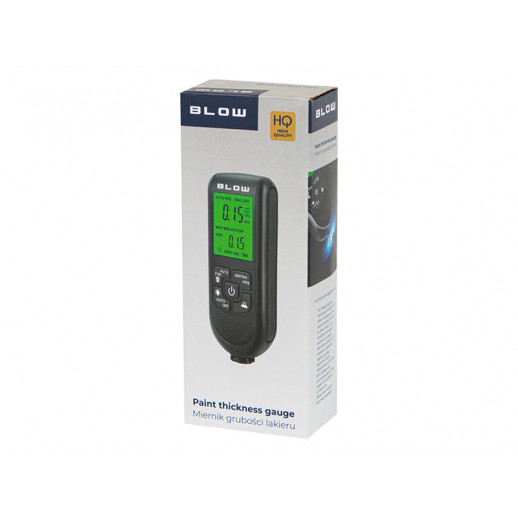
The BLOW paint thickness gauge is a useful little device that allows you to check the thickness of the paint on the car you are viewing or buying. Thanks to our device, you can easily check whether the seller has provided reliable data on the paint coating. The device runs on AAA batteries, making it ideal for field work. For measuring the thickness of metal and other coatings, such as paint, enamel, chrome on steel, paint and anodized coating on aluminum, copper. Automatic detection of substrate properties. Very accurate resolution of 1 μm. Measurement of FE coatings (steel, iron) and NFE (aluminum, copper, stainless steel, other non-ferrous metals) and car paint in the range of 0-2000 μm. Compact size. Battery level indicator. Automatic shutdown. Backlight The measuring device is calibrated and ready to work Calibration plates included The device is safe for the measured surfaces Wide range of applicationsWide range of applicationsThe paint meter is not only used in the automotive industry, it is also used in metal processing. We also use it in the chemical industry, car washes and laboratories. That is why our product is ideal for professional and home use. It is easy to use. Calibration plates includedBy purchasing our meter, you will receive GARTIS in the form of calibration plates that allow you to calibrate the meter. You do not need to take the meter to a service center - you can calibrate it yourself at home! Safe and non-invasiveOur product does not damage the measured surfaces and is safe for them. The built-in probe examines the color in a non-invasive way.How to use the device? Prepare the substrate for testing. Keep the device at least 2 cm away from metal objects and press the power button to turn it on. Note: It is recommended to zero the device before measuring. The probe is placed vertically and quickly on the surface to be measured and the measured value is displayed on the screen, then raise the probe to a height of at least 2 cm above the surface to be measured for a new measurement.Note. When the auto power off function is on and no operation is performed within 3 minutes, the device will automatically shut down. How to calibrate? Basic calibration: Basic calibration should be performed when using for the first time, when not in use for a long time, or when changing the tested substrate material. Basic calibration has 7 calibration points and the unit is mm...Prepare 6 pieces of ordinary foil with thickness of 0.04-0.06mm, 0.09-0.11mm, 0.22-0.28mm, 0.45-0.55mm, 1.90-1.05mm, 1.90-2.00mm. Hold down the UP key and then ON, after hearing a beep, the LCD will display 00mm, and CAL will be displayed in the lower right corner of the screen. Release the UP key, indicating that the calibration series has been entered. Lightly press the probe on the uncovered aluminum base, at this point the LCD will display 0.00 and then you will hear a sound. Put the device aside, the number 0.05 mm will be displayed on the screen. Perform a second calibration and gently press the probe against the aluminum base on which the calibration sheet is placed. After setting the value displayed on the screen, the next point is calibrated. Zero calibration: For accurate results, calibrate the device to zero. Prepare a blank surface for testing. While turning on the device, hold down the right button until "reset calibration (ZERO)" appears on the screen. Place the probe vertically on the surface of the blank substrate until "0" is displayed. Then raise the probe to a height of at least 2 cm above the ground. A total of 3 probe modes In automatic mode (AUTO), the device automatically selects a suitable substrate. In magnetic induction mode (F), the device measures by magnetic induction. In eddy current mode (NFE), the device measures using eddy currents. At this point, it is suitable for measuring non-ferromagnetic metal substrates. Measurement statistics The device has a built-in measurement memory that can be erased! Ability to change the displayed statistics, such as average, minimum, maximum, count. Up to 3 measurement units are available: micrometers, millimeters and mils. Specification Item type: paint coating thickness gauge Material: ABS Gross weight: 109 g Dimensions: 122 x 50 x 22 mm Battery: 2 pcs AAA 1.5 V batteries (not included) Measuring range: 0 - 2000μm Measurement accuracy: ±(3% + 1μm)


